

The problem, plainly put
Many commercial garden wall lights look promising on spec sheets but disappoint on-site: uneven washes, harsh hotspots, or creeping glare that ruins a facade at night. That gap usually isn’t poor taste — it’s optics. Mismatched lens geometry, wrong beam angle, and unverified photometrics create predictable failures long before install. If you’re sourcing fixtures or specifying a retrofit, it’s worth talking to an exterior lighting company early to avoid costly rework and to align lens choice with mounting height and finish.

Diagnosing the common optical failure modes
Start by asking: is the problem alignment, lens design, or fixture selection? Hotspots often mean too narrow a beam spread from a small lens aperture. Washed-out facades hint at overly wide beam angles or an incorrect diffuser choice. Glare usually stems from insufficient cutoff or poor luminaire shielding. Remember that mounting height multiplies beam behavior — a 20° beam at 1.5 m behaves very differently at 4 m. —
Which engineering levers actually change the outcome
There are predictable adjustments that correct these issues. Changing lens type (from wide-asymmetric to narrow circular) alters lateral throw. Adding secondary optics or a baffle controls spill and improves cutoff. Selecting materials with different refractive indices shifts focal points and redistributes lumen output. Photometrics — ideally LM-79 test reports — show how a luminaire performs in real terms, not theory. Those data let you match beam spread to facade geometry instead of guessing.
A practical design-to-install workflow
Keep the steps straightforward: model the facade with target lux levels, pick a luminaire whose photometric file (IES) meets that model, prototype on-site, then lock in mounting and aiming tolerances. Common mistakes: specifying only lumen output without beam angle, assuming a diffuser will soften hotspots without checking distribution, and skipping on-site mockups. For bespoke needs, consider custom exterior lighting solutions that let you iterate lens profiles and verify the beam pattern before full procurement.
Real-world anchor: standards and an example
Standards like LM-79 photometric testing and IES files are real-world anchors — they quantify lumen distribution, intensity, and beam angle so designers and contractors speak the same language. Urban park projects that used careful photometric modeling, such as the High Line’s later lighting upgrades, show how targeted optics can preserve visual comfort while highlighting materials. In short: measured data beats assumptions every time.
Common mistakes to avoid
Avoid these traps: underestimating tooling or lead times for custom optics, believing a single prototype equals full-run consistency, and neglecting IP rating and thermal behavior when fixtures are mounted near masonry. Also watch for atomized decisions — picking fixtures by finish rather than distribution will almost always lead to compromise on performance.
Advisory: three golden evaluation metrics
1) Photometric fidelity — insist on IES files and LM-79 reports. Validate the beam spread and cutoff in your modeling software to match target lux and uniformity. 2) Lumen maintenance and efficacy — check LM-80 data and rated lumen output; a bright initial beam that decays fast ruins long-term uniformity. 3) Mechanical adjustability & environmental robustness — verify aiming tolerances, IP rating for the intended exposure, and thermal management so optics keep shape and alignment over time.
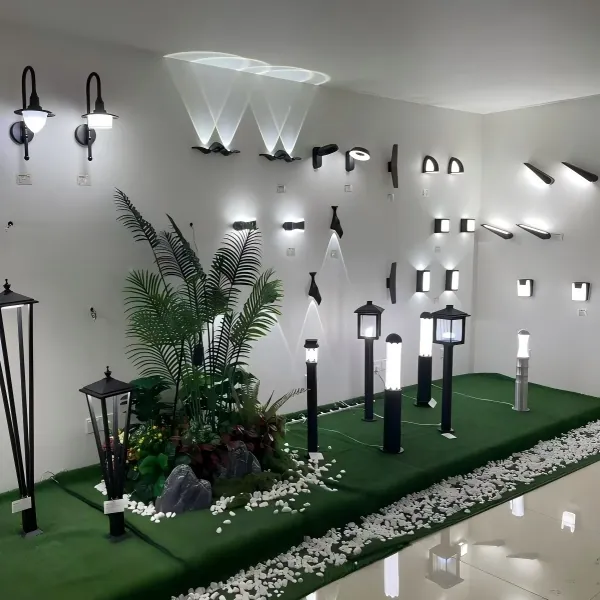
When lens engineering meets field constraints, the result should be a confident evening presentation of materials and space — not a last-minute scramble to hide flaws. For projects that demand that blend of measured optics and practical prototyping, Keyida sits at the intersection of design, testing, and install-ready solutions. —